

http://www.howtobrew.com/intro.html
Above is a link to John Palmer's book How to Home Brew, which is an amazing amount of good, free information. So before you go and shell out money for a homebrewing book, check this free-bee out. As I write this, I’m hoping that the efforts from the pictures above and below, yield magnificent flavor, consistent with the first home brew I made in December with my brew-pal Aron Faria. The story behind my brew endeavors are as follows: my brew lovin’ pal Wendy says to me “we should do a home brew…” I say “YEAH-Let’s do it!” I didn’t even conceive this was possible before she uttered the words. Two years passed to no avail; my friend got engaged and started a family. I found myself talking about home brewing with an acquaintance and he turned out to be a true blue home brewer! I told him I didn’t know about what equipment was needed; he said he had all we needed for a 2 ½ gallon batch.
Above is a link to John Palmer's book How to Home Brew, which is an amazing amount of good, free information. So before you go and shell out money for a homebrewing book, check this free-bee out. As I write this, I’m hoping that the efforts from the pictures above and below, yield magnificent flavor, consistent with the first home brew I made in December with my brew-pal Aron Faria. The story behind my brew endeavors are as follows: my brew lovin’ pal Wendy says to me “we should do a home brew…” I say “YEAH-Let’s do it!” I didn’t even conceive this was possible before she uttered the words. Two years passed to no avail; my friend got engaged and started a family. I found myself talking about home brewing with an acquaintance and he turned out to be a true blue home brewer! I told him I didn’t know about what equipment was needed; he said he had all we needed for a 2 ½ gallon batch.
Home brewing with him wasn’t as difficult a task as I thought, he knew a bit about brewing. The first time we collaborated it reminded me of cooking: you buy all the ingredients, then go home and use the appropriate kitchen ware to make the dish--or in this case, brew. I’ve also found that home brewing is a party. We were beer tasting whilst making! It became a bonding from love of beer tasting, sharing different favorite beers, trying new ones—a true love of the old school, old world craft nostalgia.
Below are 2 pictures of the homebrew shop [http://www.homebeerwinecheese.com/] in Woodland Hills, off of Ventura Boulevard on Rigoletto Street. 


I’m going to break down for you the basics of our second brewing endeavor, a British Brown Ale kit, purchased from More Beer [http://morebeer.com/], an online resource for home brewers. Our first collaboration at home brewing was an IPA [pictured below]; I named it Aurora


Now let’s talk equipment: basically you will be seeing some of my equipment purchased at my local home brew shop, Aron’s gallon cooler and a turkey fryer I bought at Sears on sale after Thanksgiving for $49.99 including the burner! Turkey

Basically brewing is a simple process with potential for fancy innovations on flavor. And if you live near a home brew shop, usually the people in that home brew shop will be able to give you free advice on brewing. Even if you don’t live near a home brew shop there are plenty of online home brew shops to order from and call for free advice.

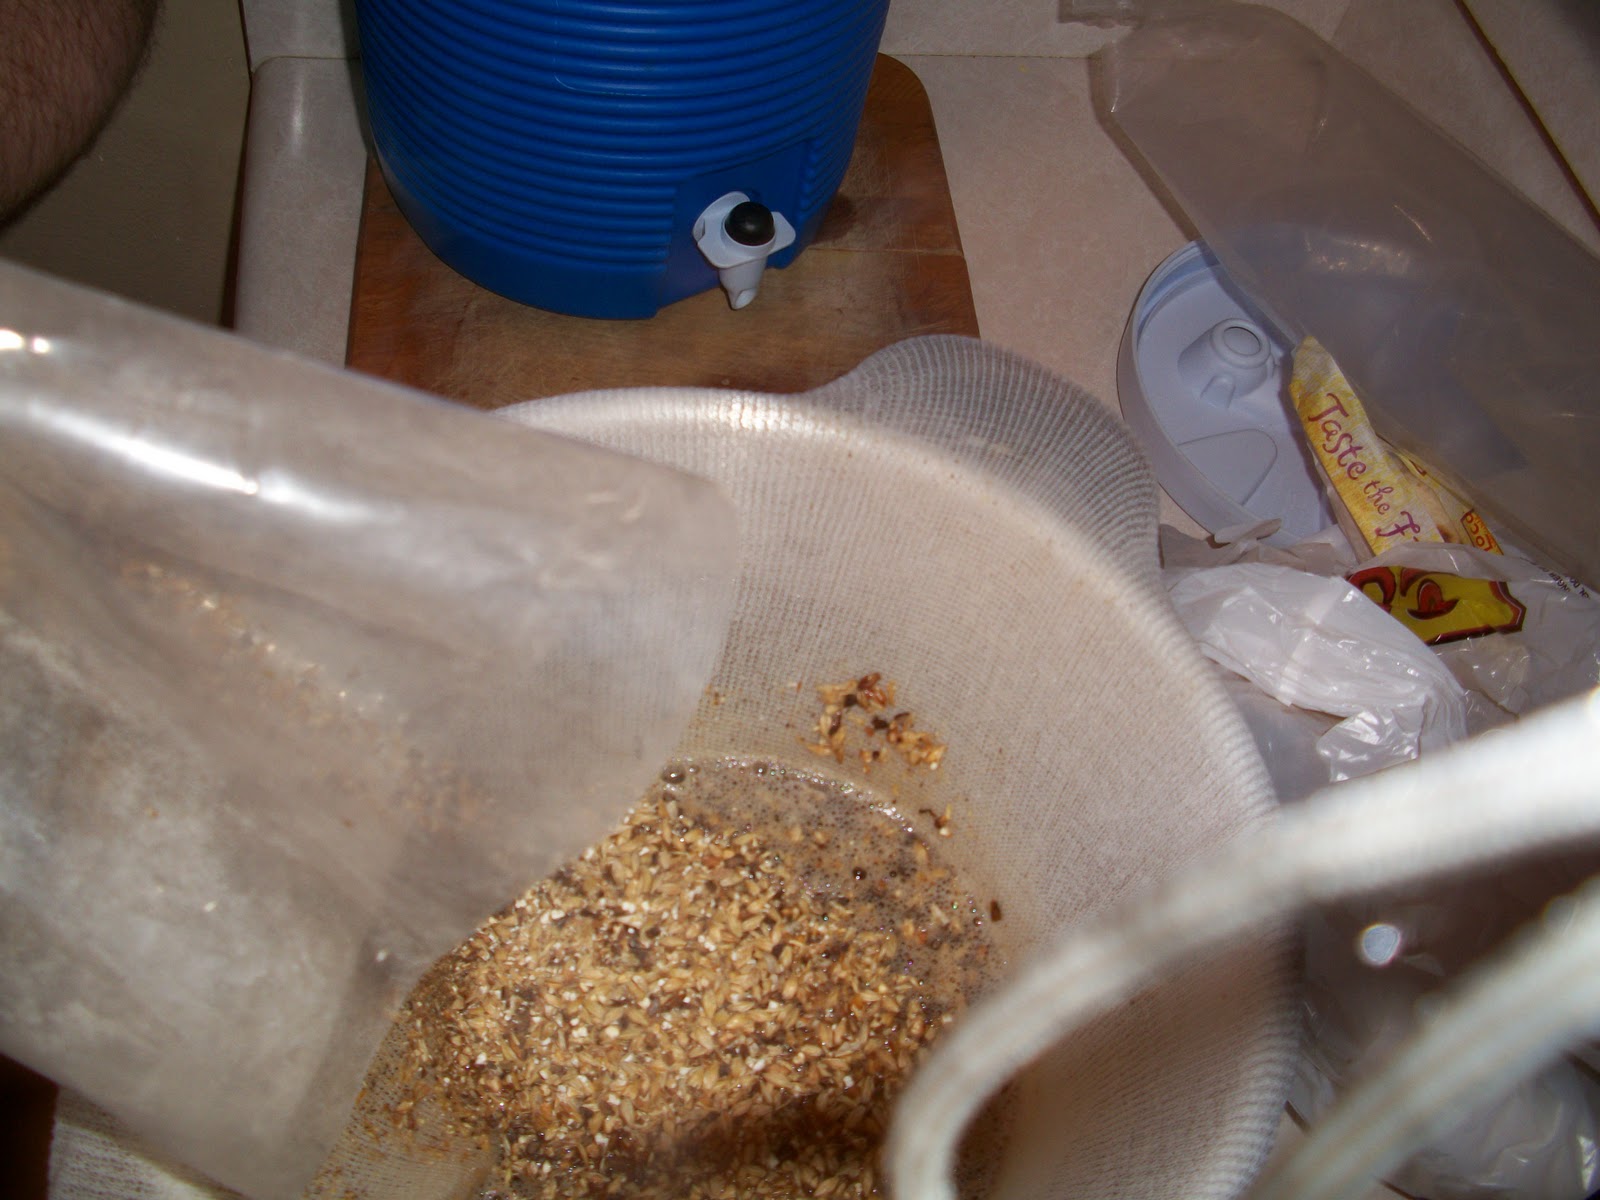
The picture above is Aron taking the water temperature to see if its ready for the grain mini-mash. The temperature at this point of the process should be within a certain range to get the proper “steep” from the grains. It’s like brewing tea. Pictured below the grains are being put in the cooler with the stretched grain bag around the mouth of the cooler to catch the grains, making the tea bag effect. What you get when the water filters through the grains is called “sparging.” The sparge is like the tea from brewing the grains, only what you get is sugars from the malt and barley for the yeast to feed on. I'll explain yeast later. Not all beers have this first “mini-mash” step but our “malty brown ale” does.


No comments:
Post a Comment